Secret Server Integration
A Secret Server integration with Cloudhouse Guardian (Guardian) allows you to securely retrieve credentials from your organization's existing Secret Server account, as an alternative to storing them directly within Guardian. To enable this, add the Secret Server integration to your Guardian instance by specifying the Secret Server instance and the path(s) to the folder(s) where the credentials are stored.
Once you've added a Secret Server integration, Guardian retrieves the credentials stored in Secret Server and makes them available for selection when you add Linux, Windows, or Network device nodes. These credentials are then used to authenticate access to the nodes during scans. This topic describes how to set up a Secret Server integration with Guardian.
Note: The Secret Server feature was introduced in V4.3.54.0 of Guardian. This is an optional feature that must be enabled. For more information, see April 2025 Quarterly Release.
Dependencies
To add a Secret Server integration, you'll need a Secret Server account with pre-configured credentials. This could be an existing user account, but we recommend setting up a brand new user account named 'Guardian' for easier identification.
Add a Secret Server Integration
When adding a Secret Server integration, you have to specify the Secret Server instance and the path(s) to the folder where the credentials are stored, allowing Guardian to retrieve them and use them as authenticators during scans.
Warning: There is no limit to the number of folders you can specify, but only one Secret Server integration is allowed per Guardian instance.
To add a Secret Server integration to Guardian, complete the following:
-
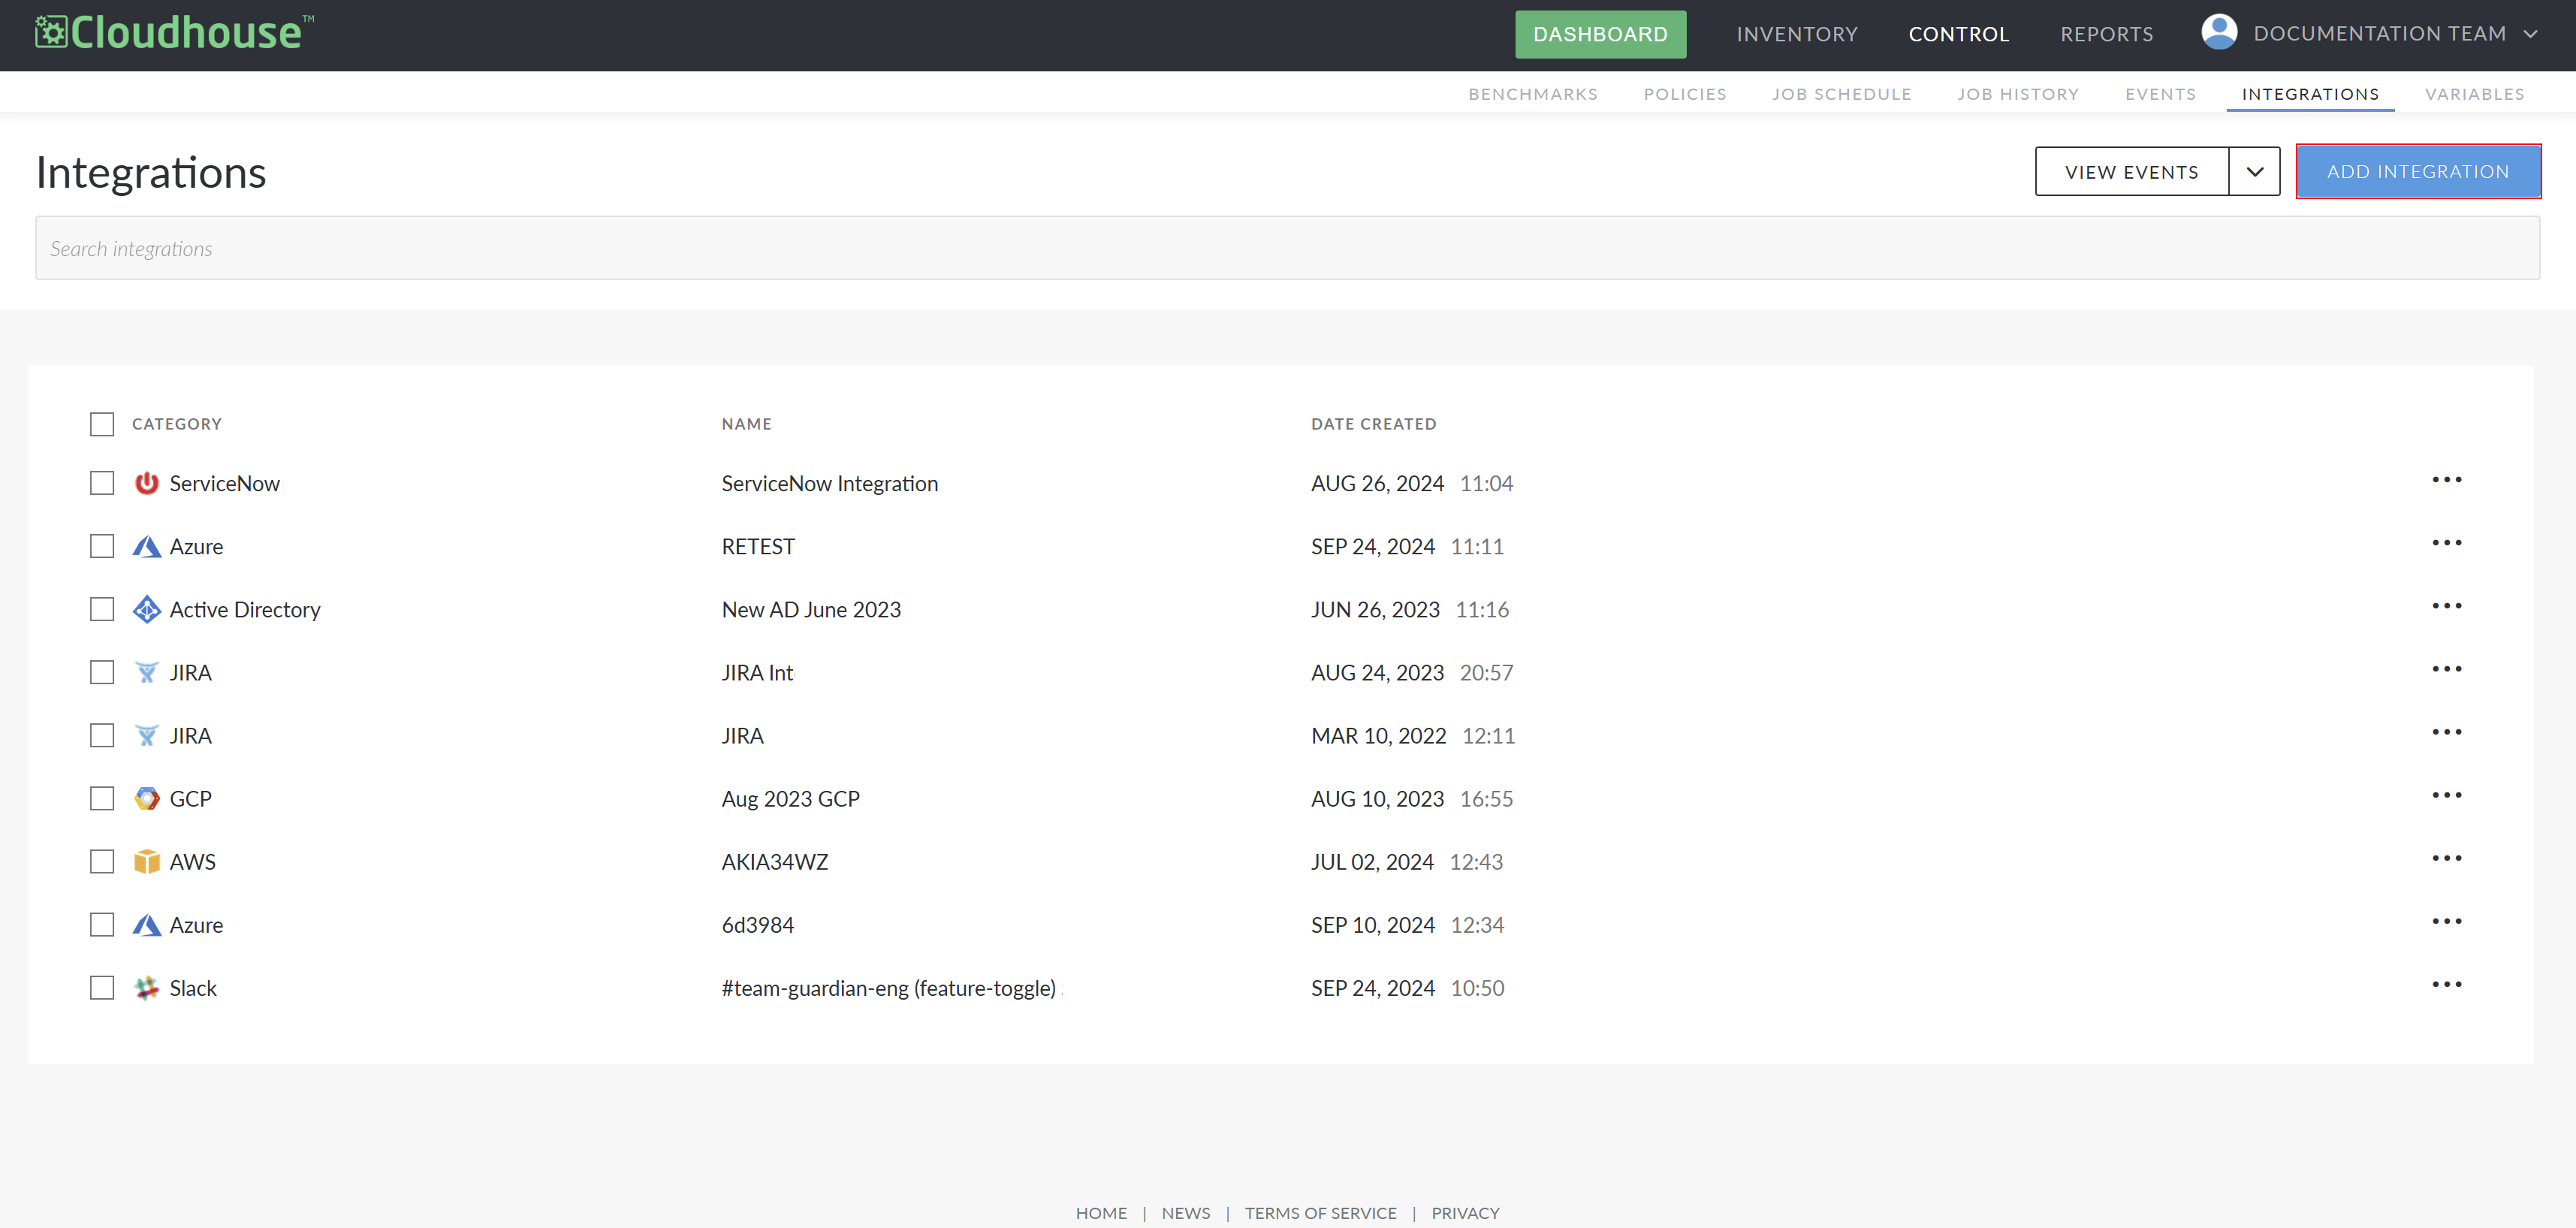
In the Guardian web application, navigate to the Integrations tab (
-
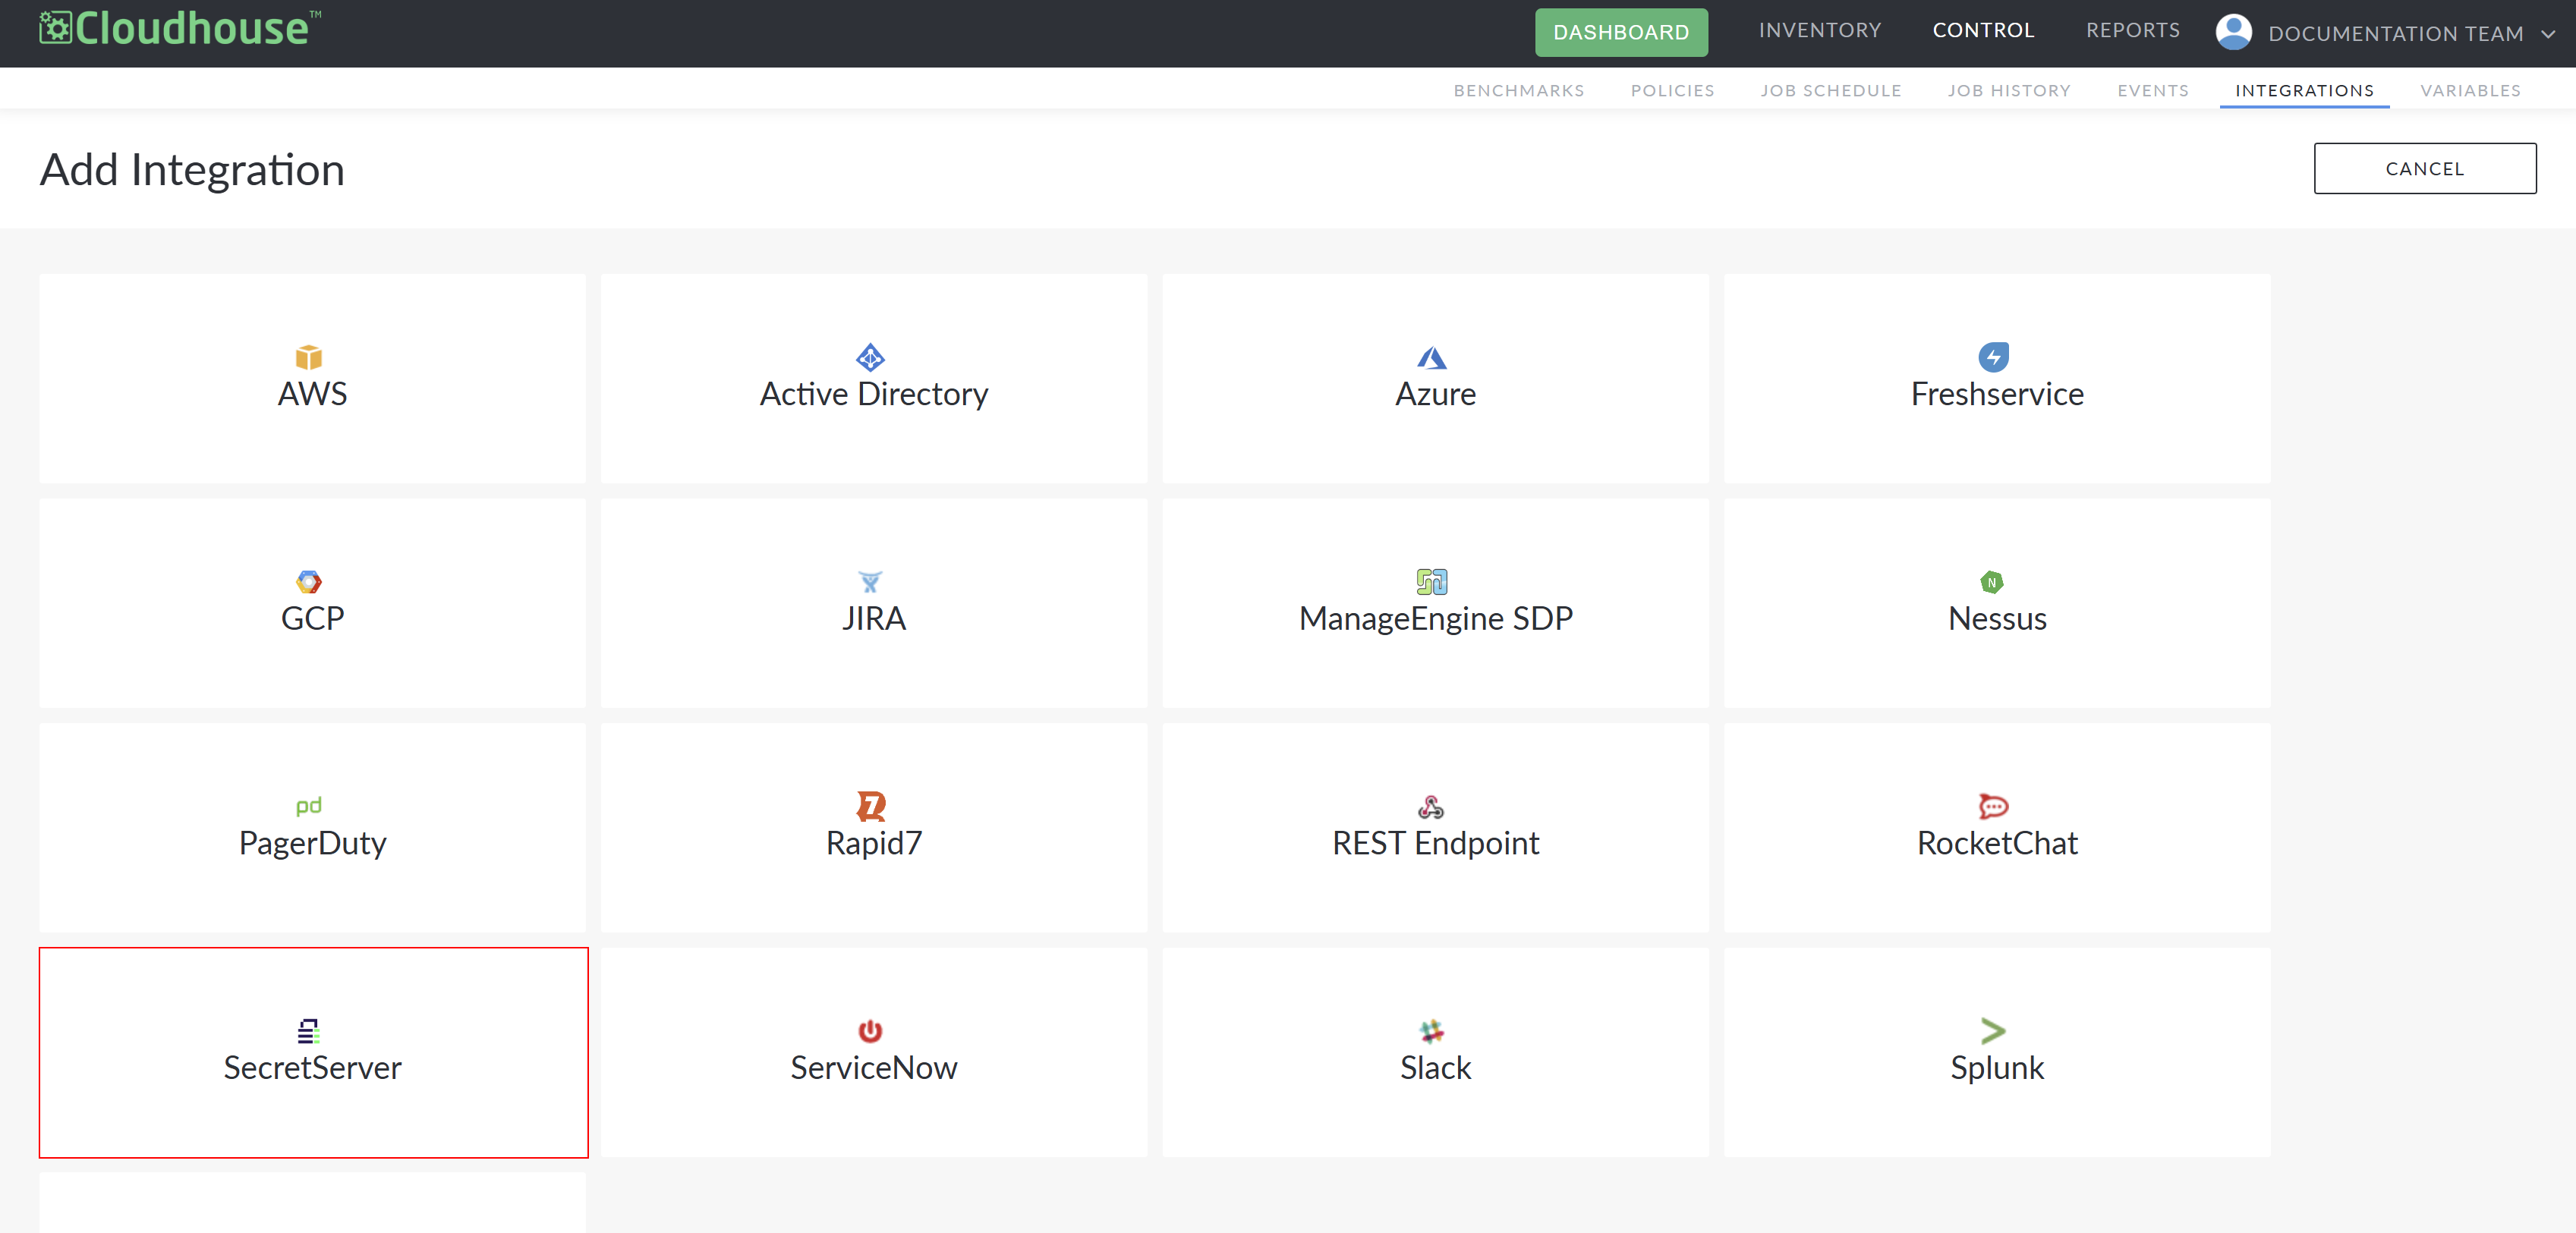
Select SecretServer from the list of available integrations. Here, you are required to complete the following options:
Option
Description
Name field
The display name for the integration within Guardian. This name is how you will identify the integration among all others configured in your Guardian instance, so ensure it is descriptive.
Secret Server Instance URL field
The unique URL of your Secret Server instance. For example, 'https://myserver.com/secretserver'.
Username field The username of the Secret Server account you want to connect to your Guardian instance.
Password field The password for the corresponding Secret Server user account.
Secret Folder Path 1 field Enter the full path to the folder in Secret Server where the credential(s) are stored. For example,
\Shared Credentials\Production\Linux Server. Once you enter a valid folder path, click Add Folder Path.Each time you click Add Folder Path with a valid path, an additional field becomes available. This behavior continues as long as you keep entering valid folder paths, allowing you to retrieve credentials from multiple folders in Secret Server.
The folder path is case-sensitive and must match the structure in your Secret Server instance.
Warning: There is no limit to the number of folders you can specify, but only one Secret Server integration is allowed per Guardian instance.
-
Once you have set the correct values for each of the options displayed, click Done to create the Secret Server integration.
If successful, a confirmation message is displayed. The Secret Server integration is added to the Integrations tab of your Guardian instance, allowing Guardian to retrieve the credentials stored in Secret Server and make them available for selection when you add Linux, Windows, or Network device nodes. If unsuccessful, an error message is displayed. Use the information displayed in the error message(s) to troubleshoot the values in your Secret Server Integration options.
Note: If you want to edit or remove a folder path you added, in the Integrations tab, select the Secret Server Integration, then either update the relevant Secret Folder Path field or click Remove next to the folder you want to remove.
Troubleshooting
If you are experiencing issues with your integration, try the following:
-
Verify that the values supplied for the integration are correct.
-
To confirm the status of the integration sync, check the integration sync event in the Events tab (Control > Events) of your Guardian instance. For more information, see Events.